HOW TO GET YOUR BEST BEFORE & AFTER
By Corby Pinder | 20 May 2019Staying motivated is far easier when you track your progress so I’ve put together some tips for taking the best photos and measurements
Tracking your progress is a very useful tool and can spark a fire under your butt!
With my clients, I love using photos, tape measurements, and weight to create realistic goals and gauge progress. We want to establish a baseline and have a clear idea on what you’d like to achieve. For example, I know when I’m in my best shape by measuring my right thigh. It’s my consistent go-to for an area that I hold weight when I’m not on track. Can you think of the area you’d like to see change? Do you know what you can realistically expect to see in 30 days? If you’re not already signed up for the 30 Day Free Trial, you can check it out here
Quite often people will do a check in for a transformation challenge or at different times throughout their health and fitness journey. Whatever your reasons are, I’ve put together some useful tips to make sure you don’t miss out on the amazing feeling you get when you start to see changes.
Let’s chat about the best way to do your photos
The standard poses that are best for comparison are front on, side on and back. Wear something you feel comfortable in that reveals as much as possible, such as a bikini or short shorts. If you feel comfortable in the buff, that’s fantastic, go you, but I recommend making sure you have photos with clothing as well. I can’t tell you how many times I’ve received incredible progress shots but they are topless and in thong (women too haha)

Here’s a check list to ensure you get consistent photos:
- Time of day is key. You will put weight on throughout the day so first thing in the morning is best. Before a meal.
- Keep clothing constant. Wear the same thing every time so you get a realistic comparison.
- Get at least the 3 standard poses: front on, side on and back. For a bit of fun or if you think you may compete in a fitness competition one day, you may like to try a few other poses such as the bikini pose, front/back double bicep or most muscular.
- Keep the angle constant. If someone is doing your photos for you (best option), take note of the angle they are taking the photo and the distance from you. Be sure to remind them next time.
- Lighting. Play around with the lighting in the room, try the curtains open or closed and get the best you can. Take note of how you set it up.
- Location. Make it easily accessible and private. You want to use this space frequently so make sure you can get to it anytime you like.
- Keep the camera mode and/or filter consistent. I highly recommend using no filter. This isn’t the time to feel pretty. These are your raw progress photos.
- Make sure they are in focus and that you don’t delete them. Often uploading them or sending them from your phone can degrade resolution. Make sure you keep them somewhere safe or double check the quality when you upload.
Here are a few examples of my clients and challenge winners:
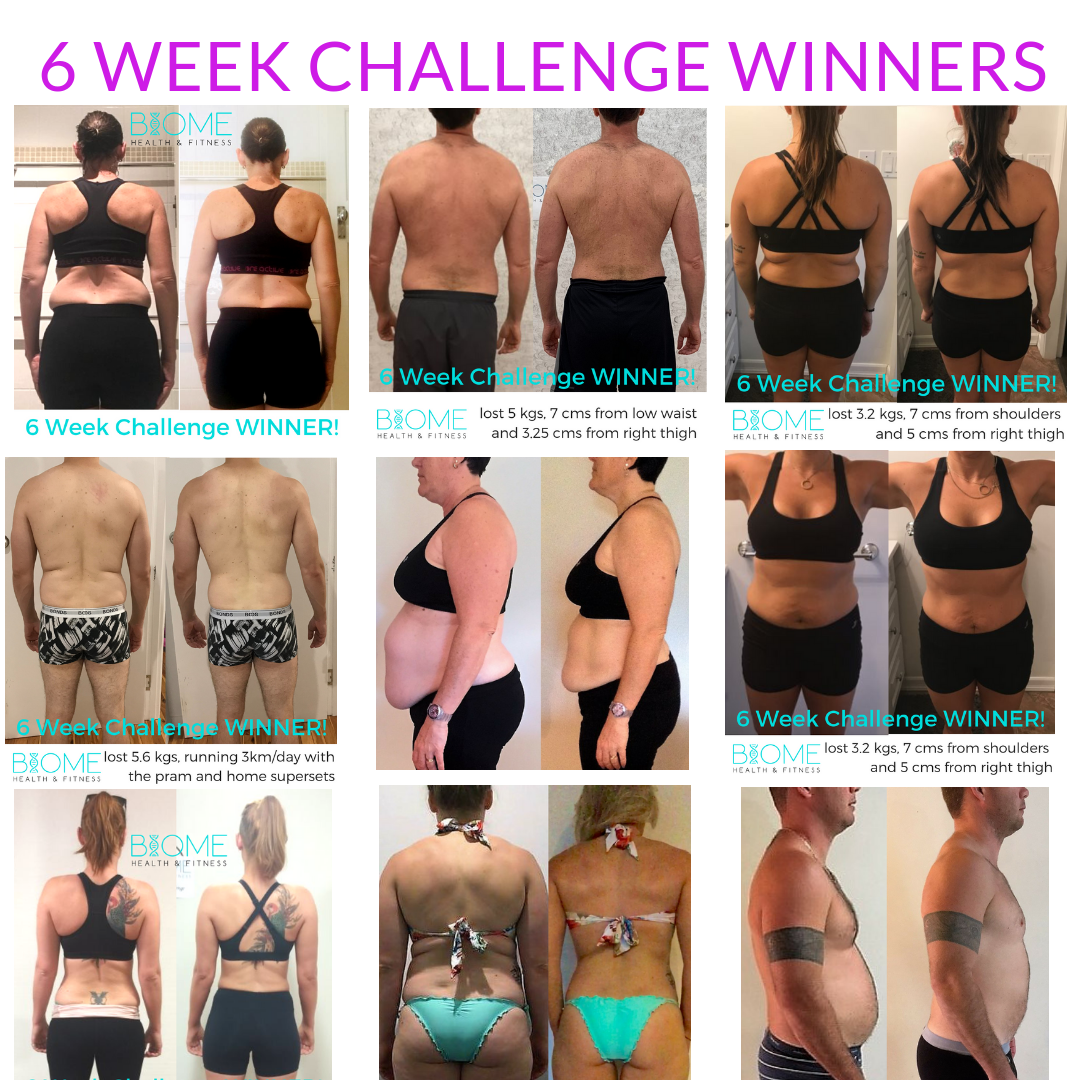
FOR AMAZING RESULTS LIKE THESE SIGN UP FOR YOUR FREE 30 DAY TRIAL
Try to show yourself show love and acceptance. Remember that these photos are your starting point and it’s impossible to get somewhere without starting in the first place. I understand how confronting and vulnerable this can be but the number one regret I hear from clients is choosing not to do photos. Watching that waist whittle and the mountain peaks come in is very rewarding, something the scale doesn’t show us!
Measurements are my ALL-TIME favorite progress tracker because they reveal what the scale and photos can’t
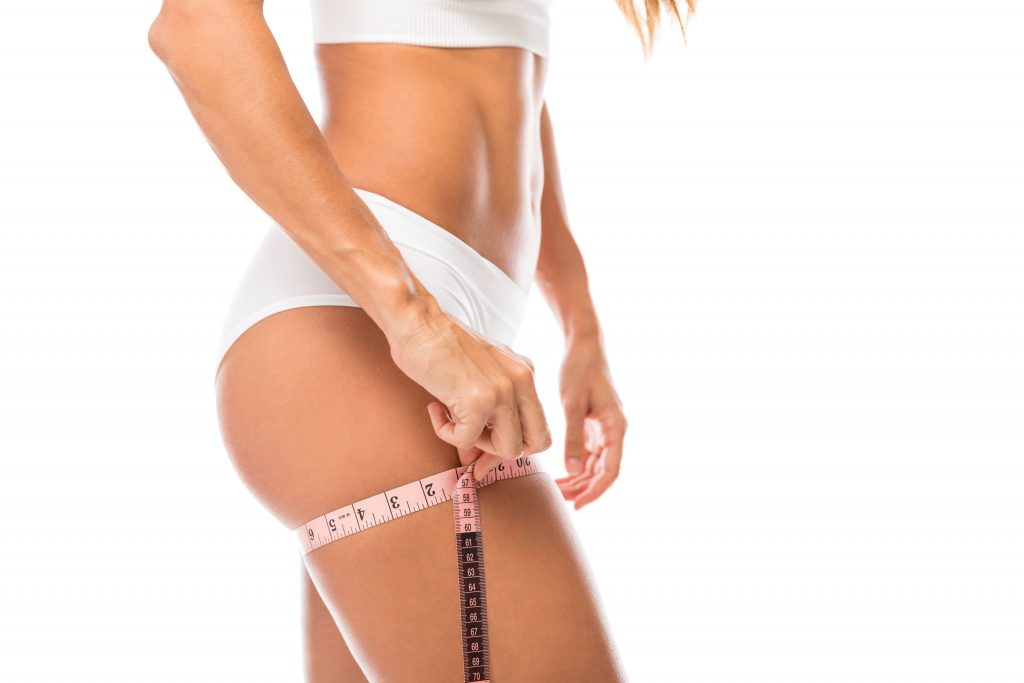
Measurements are a fast and easy way to see your hard work paying off. When done properly they are extremely accurate and are also very motivating when the scale doesn’t seem to budge
The scale can often be cruel in the early stages when we gain lean muscle mass and lose body fat. Of course, recording our weight is still useful as we see an overall trend in the direction we like. When it comes to measurements, it would be beneficial to track the areas you would like to see the most change in. For example, if your goal is to shed belly fat, measure the largest area of your tummy. If your goal is to reduce hips and thighs, measure those two areas. You don’t need to do all the measurements the APP gives options for but a few would be a great start. If you aren’t using an App, create a file that you can save and add to. Excel or a table in word are good options.
Here is a checklist to make sure you get consistent measurements:
- Record the date and time of day. Also best to do all measurements in the morning before a meal for continuity.
- Choose the left or right side of body, I always measure the same side in which you are handed. You’ll be surprised at the difference in size from the left to right side of your body
- Record where you are at in your menstrual cycle (if you have one)
- Record what you are wearing, full sleeve or leg, etc. shoes on or off, which bra, pants, shirt. I nickname my clients clothing to make it distinct.
- Always record the largest area. What I’ve learned is to ignore the classic across belly button or mid thigh standards and decided your true progress it’s ALWAYS best revealed when you measure the largest area. This is true whether your overall goal is weight loss or muscle gain. This includes waist, hips, biceps, thighs, everywhere.
- If you have a goal of lean muscle gains I also recommend doing an unflexed vs flexed measurement. For example, measure your bicep relaxed, then flexed and note the difference. As you put on muscle and lose bodyfat you will see the unflexed measurement decrease and the flexed measurement increase. Such a great feeling whether you’re male or female.
If you’re on the Biome App, you can upload your photos and measurements utilise the photo compare feature and the body stats progress charts. All your body stats and personal bests are charted for quick review.
If you haven’t claimed your Free 30 Days with absolutely no obligations, check it out now!
How do you feel about taking your photos? Not your first rodeo? Do you recall being nervous and then eternally grateful that you did them, especially when you saw your hard work paying off? Feel free to comment below and encourage others who may be feeling vulnerable and about to attempt this for the first time in their lives!
In Love and Health,